How to Make a Game for Steam Deck Using GDevelop
Today, we'll show you how to make a game for Steam Deck using GDevelop, a free and open-source no-code game engine!
Valve has revolutionized handheld PC gaming with the Steam Deck. It's been an absolute success and they cannot make them fast enough to keep up with demand. And if you're a game developer, with this new demand comes a whole new audience for your games. Today, we'll show you how to make a game for Steam Deck using GDevelop. Or rather, how to get your GDevelop game running on Steam Deck.

GDevelop is a free, open-source, no-code game engine (that supports JavaScript coding if you're in the mood for it). You can try it out for free, and download it to your desktop, too. It's easy to make games with GDevelop, and with this guide, it'll be easy to play your GDevelop games on the Steam Deck, too.
This guide comes courtesy of GDevelop community member Fatal Exit. If you've found this information useful, be sure to thank Fatal Exit on Twitter, and check out their games on itch.io.
Getting your GDevelop game export running on Steam Deck
A quick caveat: This doesn’t work the exact same way as if you were publishing a game on Steam. Similar principles do apply, however (setting up custom control schemes, using Proton). I cannot test this exact scenario because:
- I currently do not have an active Steam Developer account, and
- even if I did, I wouldn’t consider trying to publish a game that I didn’t intend on seriously doing so due to the upfront platform fee of 100 euros per game.
Step 1:
Export your game as you would for Windows, either by using the build service or building locally. Build it as a zip file, NOT an installer. This is very important. Optionally extract the zip to a folder.
Step 2
Transfer your game onto the Steam Deck. You can do this in multiple ways.
- Using a service like Google Drive.
- Using a USB C external Drive/USB stick.
- Using a micro SD card along with a reader attached to your PC.
- Using a local network transfer tool like Warpinator/Winpinator.
I went with option 4 as I didn’t have either 2 or 3 on hand, and I have slow internet so option one would have taken a long time.
Warpinator (for Linux) and Winpinator (For Windows) are simple to install on both devices and as long as they are on the same network, should work fine.
Put your Steam Deck into desktop mode, fire up the transfer software on both devices and you should be able to transfer the files across with zero trouble. A similar process is required to transfer files from an external drive or MicroSD card.

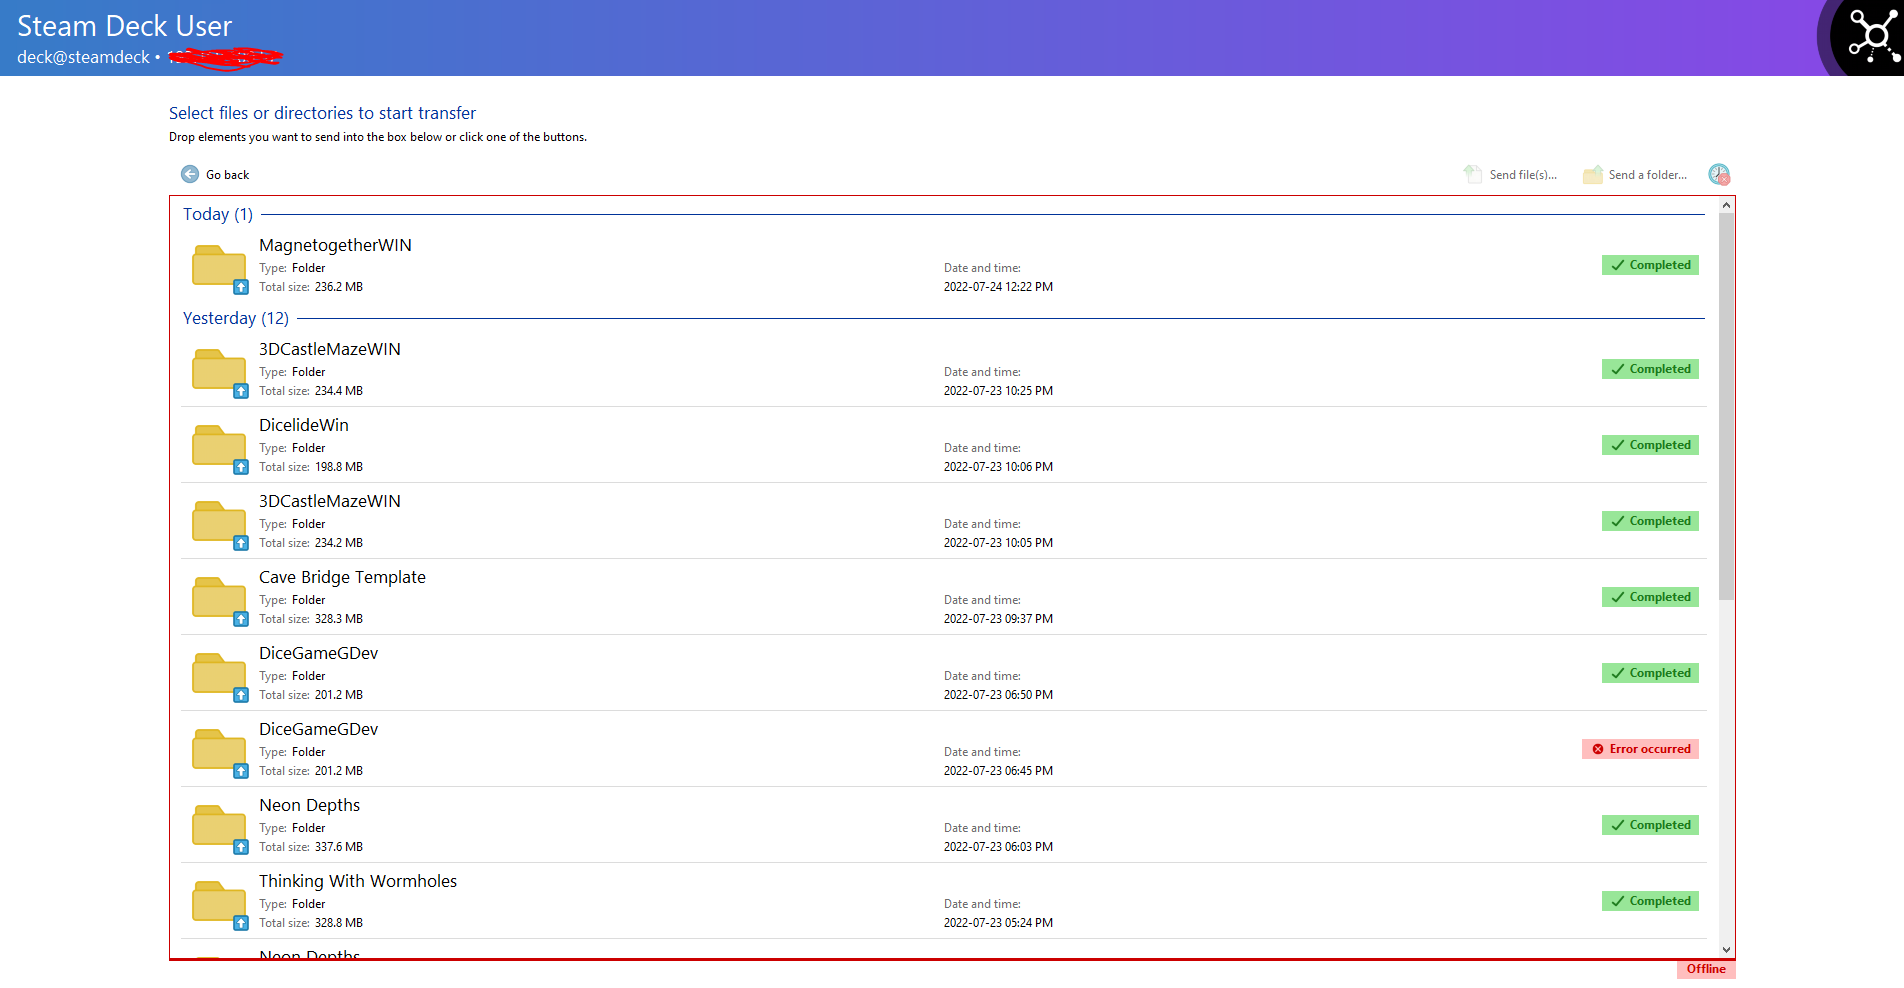
Once this is done your game will be on your Steam Deck.
Step 3:
Next thing you need to do is put your deck in desktop mode (it should already be due to the previous step). Open up Steam in desktop mode, go to the Library tab (this should look identical to Steam on PC if you are doing this right) click on the Games dropdown right at the top of the screen.


Once you click on this, click the "Add Non-Steam Game" button. Navigate to where your game is (by default it should be in the warpinator folder if you haven’t moved it).
Next, you will have to change the file type from .desktop to all files as this doesn’t read exe files by default. Once you do this you can select your game’s .exe file, and add it to Steam. Now you can return to the console OS.
Step 4:

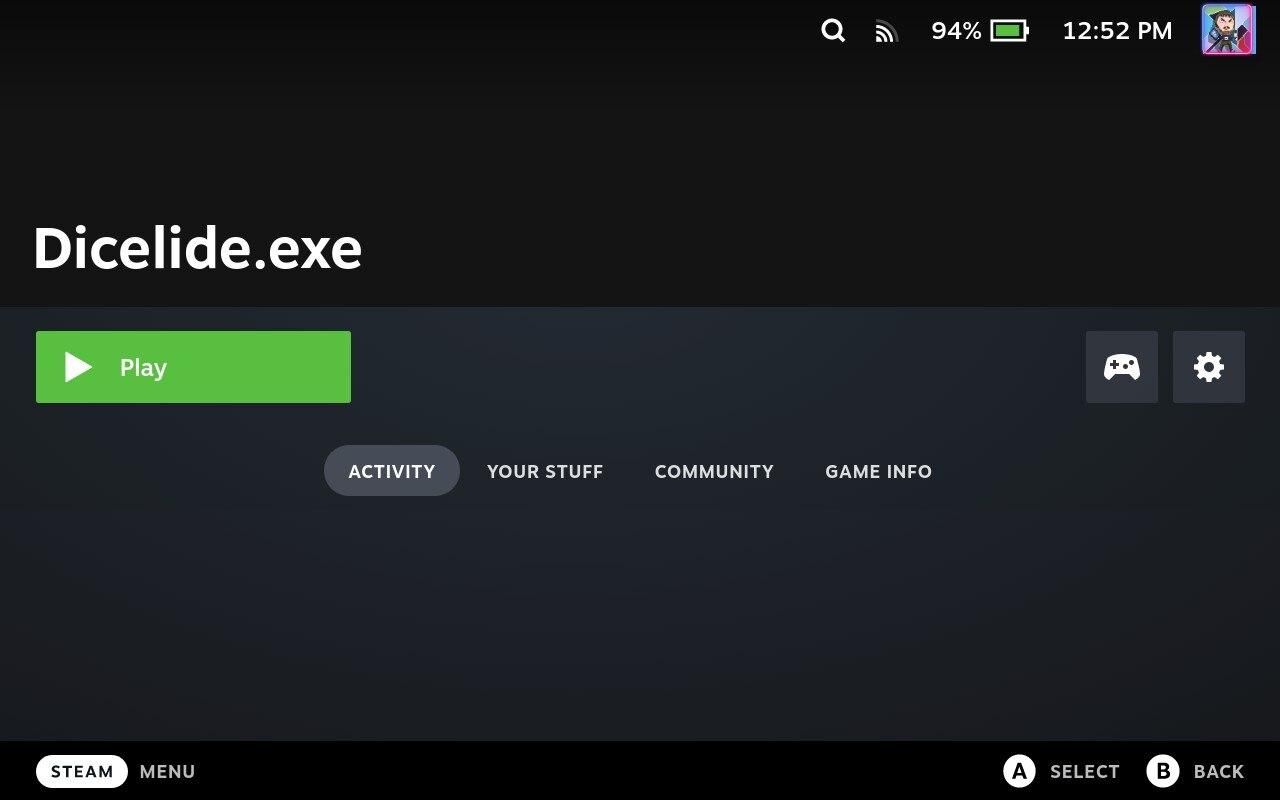
Upon navigating to your game in console OS mode, this is what you should see. However, if you try to play it like this, it won't boot.
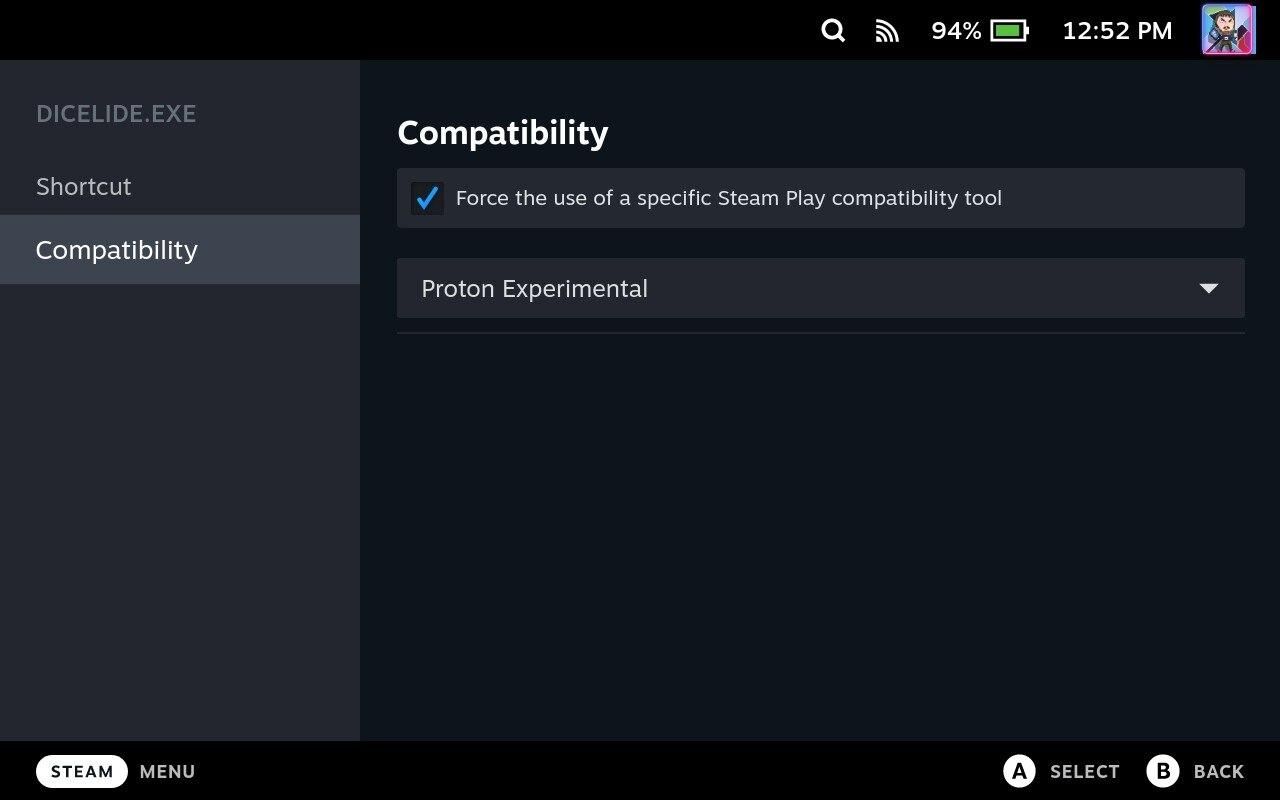
You need to click the cog icon and go into your game's settings. Go to the Compatibility tab, and you need to turn "Force Proton" on for said game (it needs this to run windows games on SteamOS). Click on "Force the use of a specific Steam Play compatibility tool". I used Proton Experimental for best results.
Step 5:
The next thing you probably want to do before you launch is to customize your controls. Steam Deck is great at this.
Even if your game doesn’t support a gamepad at all, chances are good that you'll be able to make it work on the Deck.

Go to the Steam Input Configuration screen either before or after starting your game, choose the appropriate base profile (keyboard and mouse if your game uses keyboard controls, etc), and customize it to fit your game’s controls.
Step 6:
That’s it, you should now be ready to go. Run your game and it should now run. You should now be able to use the controls you set up too, and they will be exclusive to this game as a profile.
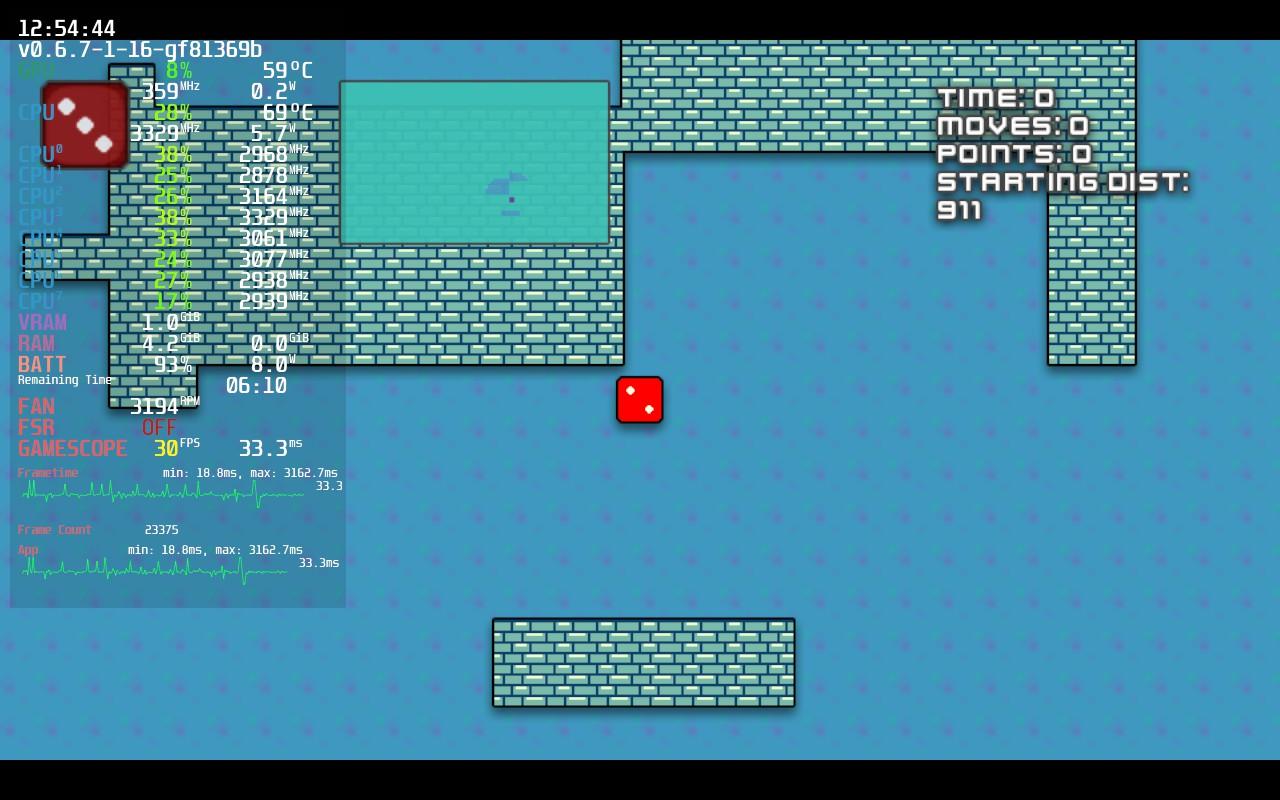
You can toggle the performance overlay on the right with the "…" button if you need to benchmark the game. I left it on in the following screenshots to prove this was running on the Deck.
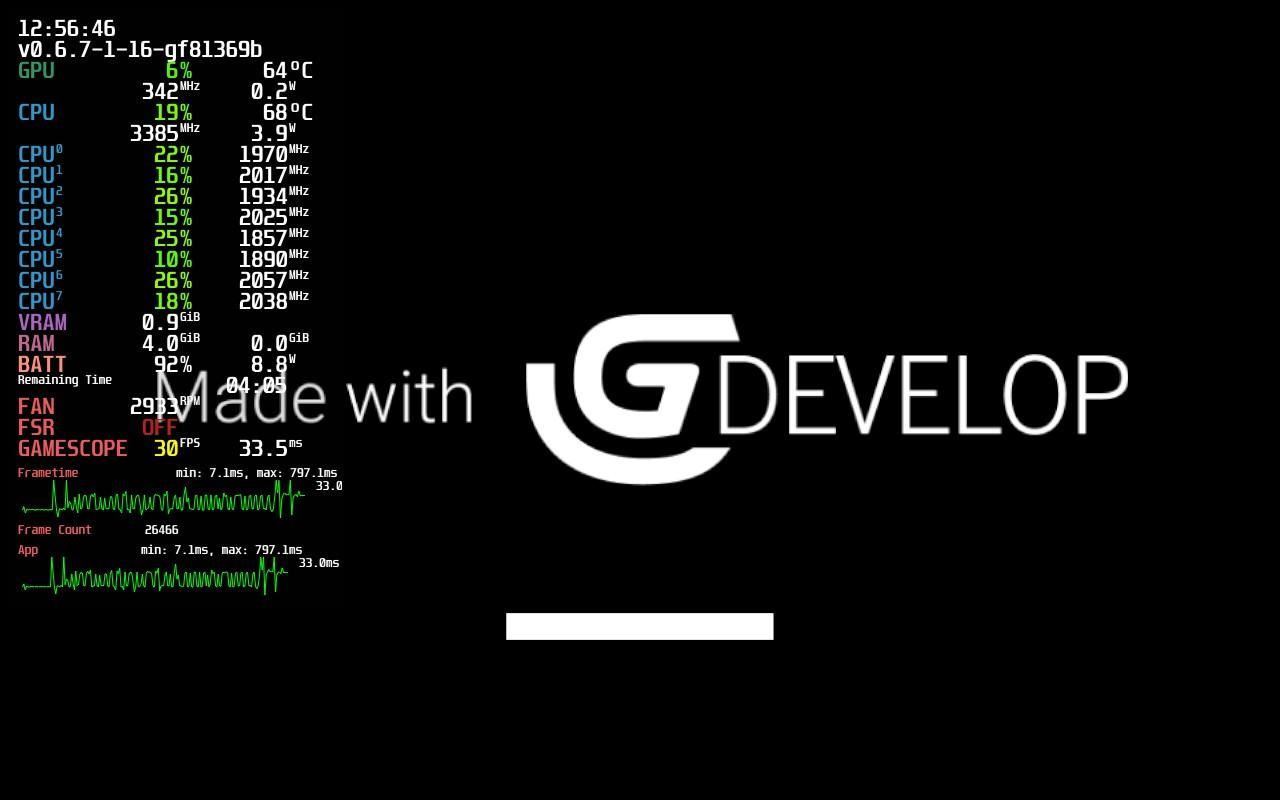
Here are some more screenshots of the game running on the Deck:

And that's it! You now know how to make a game for Steam Deck using GDevelop: just make your game, export it, and load it up on the Deck!